Kitchen Cabinet Declutter in 5 Easy Steps
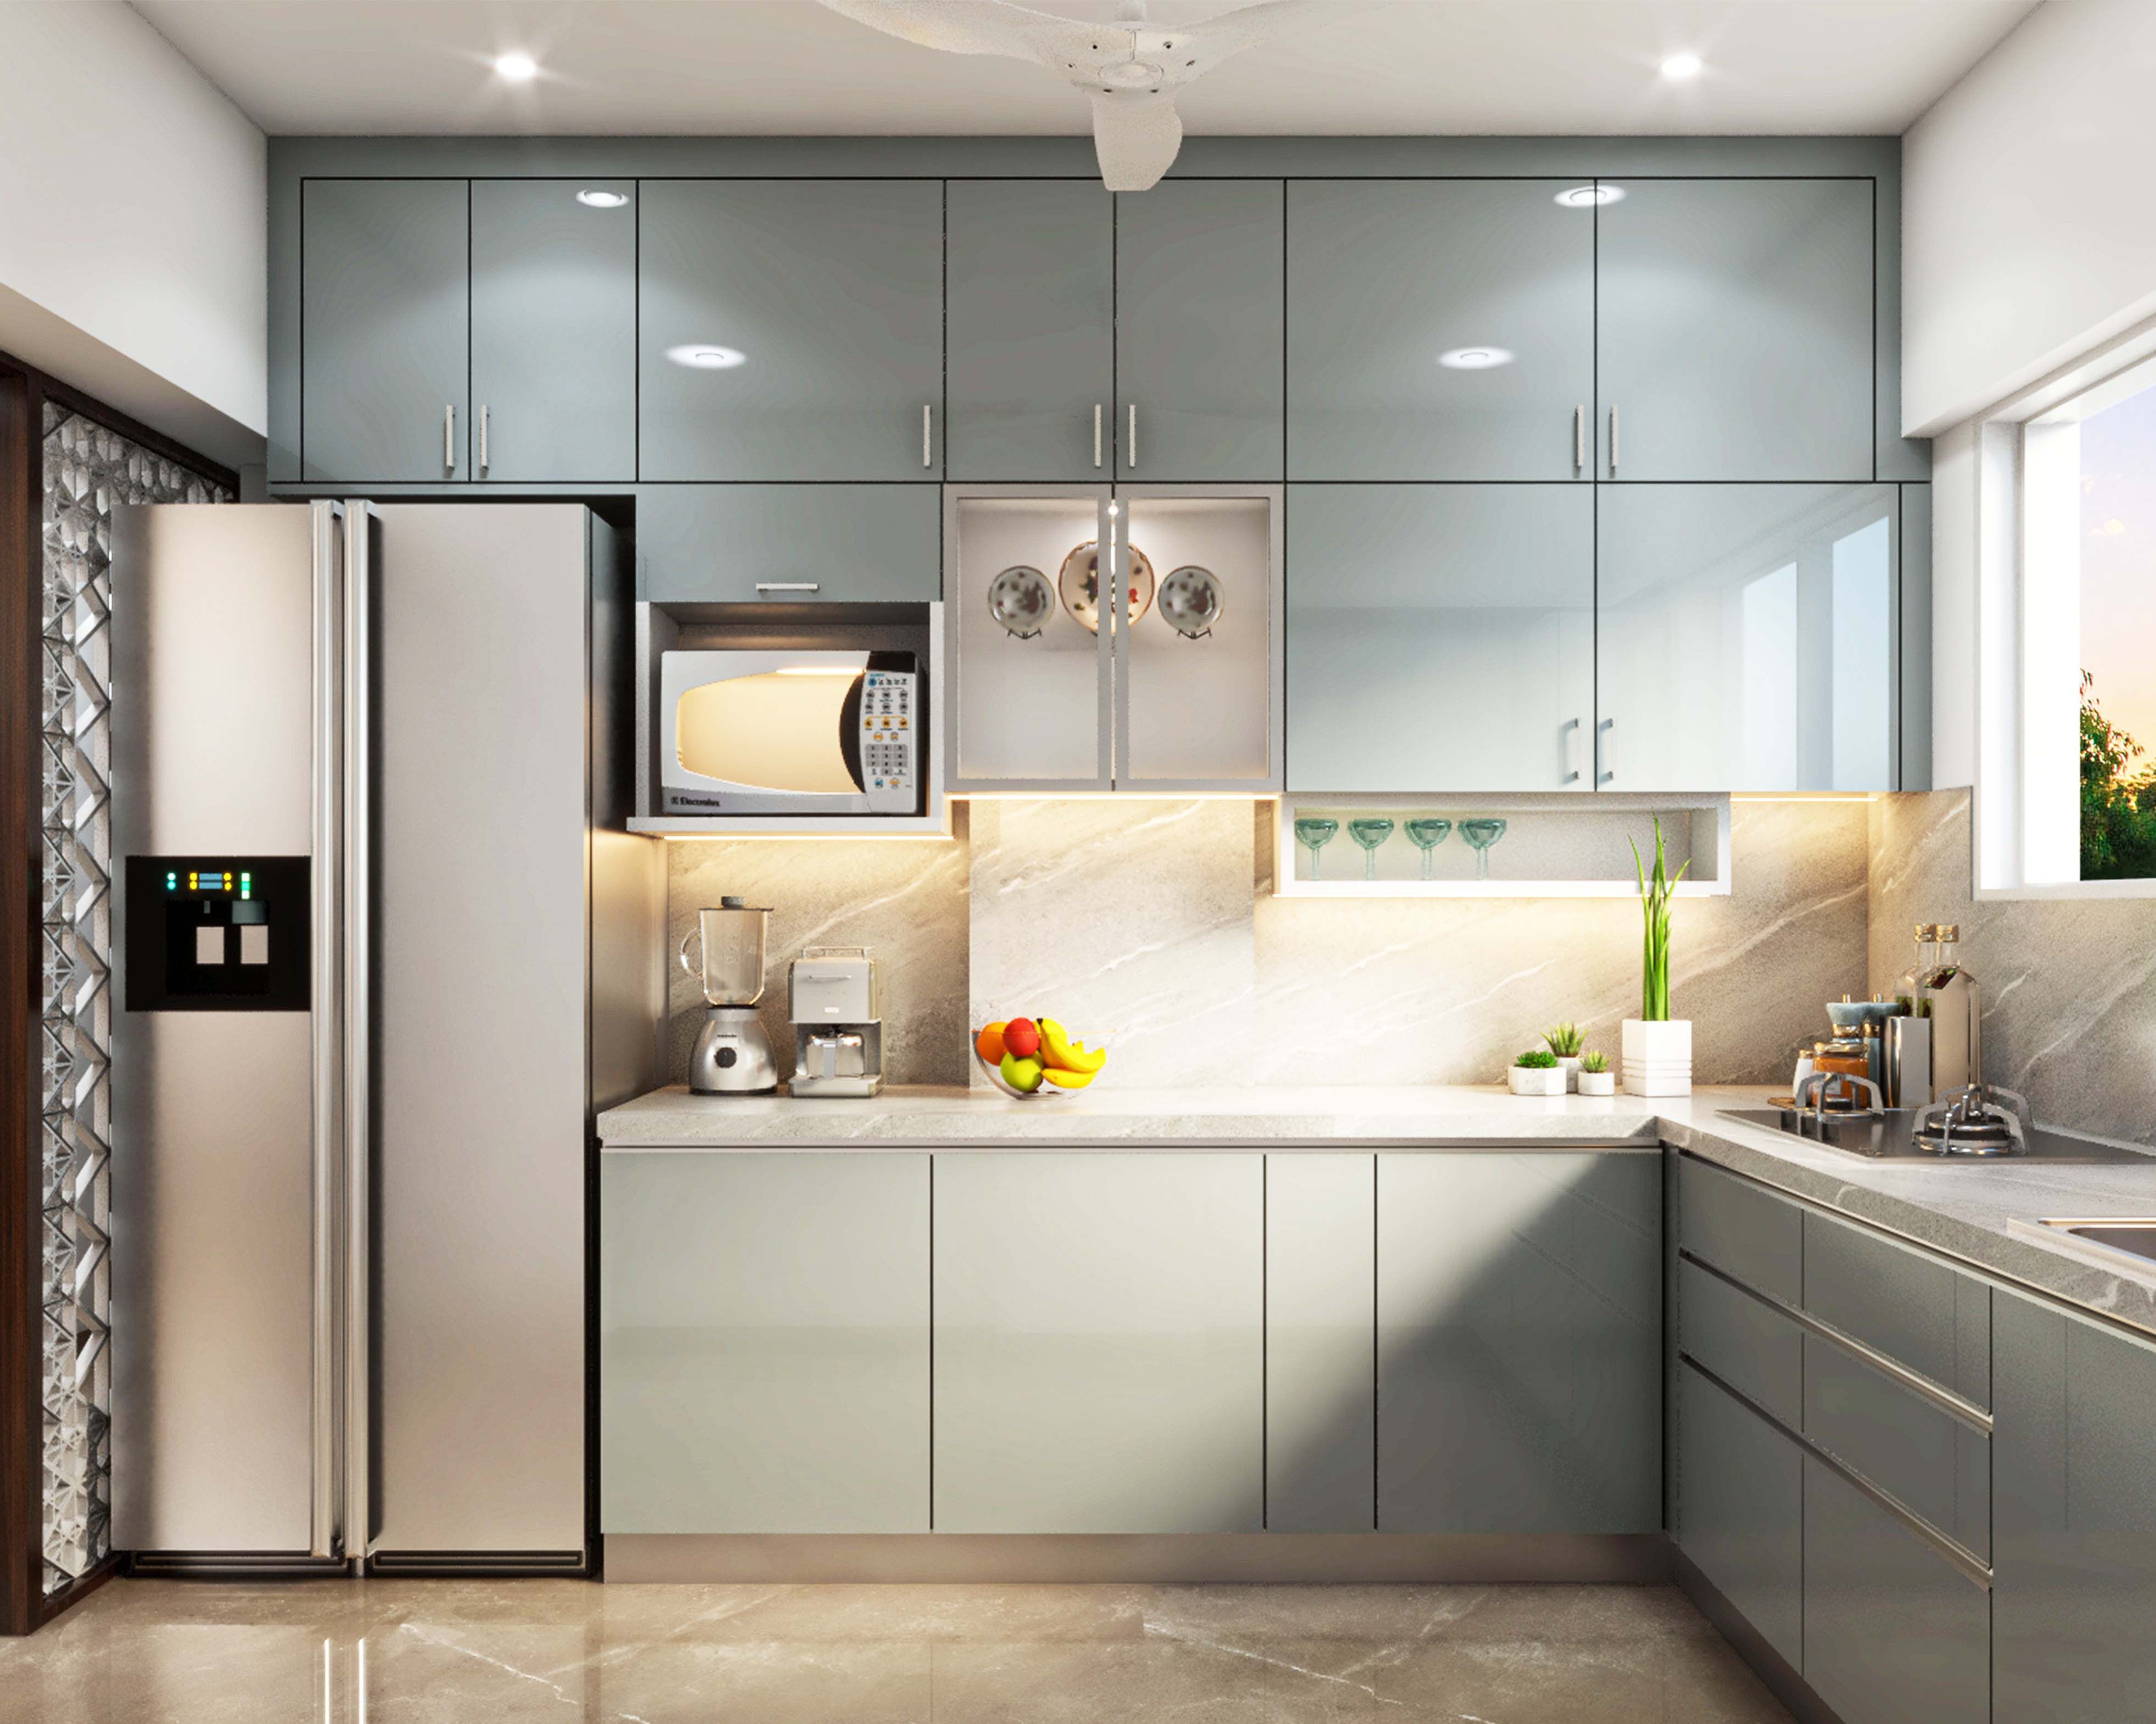
A kitchen cabinet declutter happens in five clear steps: empty, sort, clean, organize, and maintain. This process takes about two hours for an average kitchen. You will have more room and find your items faster.
Step 1: Empty Every Cabinet
Clear a large area on your kitchen table or a clean counter. Remove every single item from one cabinet at a time. Do not skip the back corners or the very top shelves where things often hide. You must see everything you own to make a good choice about what stays.
This stage takes about 20 minutes for most people. Seeing the empty space helps you realize how much room you actually have. It is the first step in professional organizing to see every item in one place before you decide where it belongs.
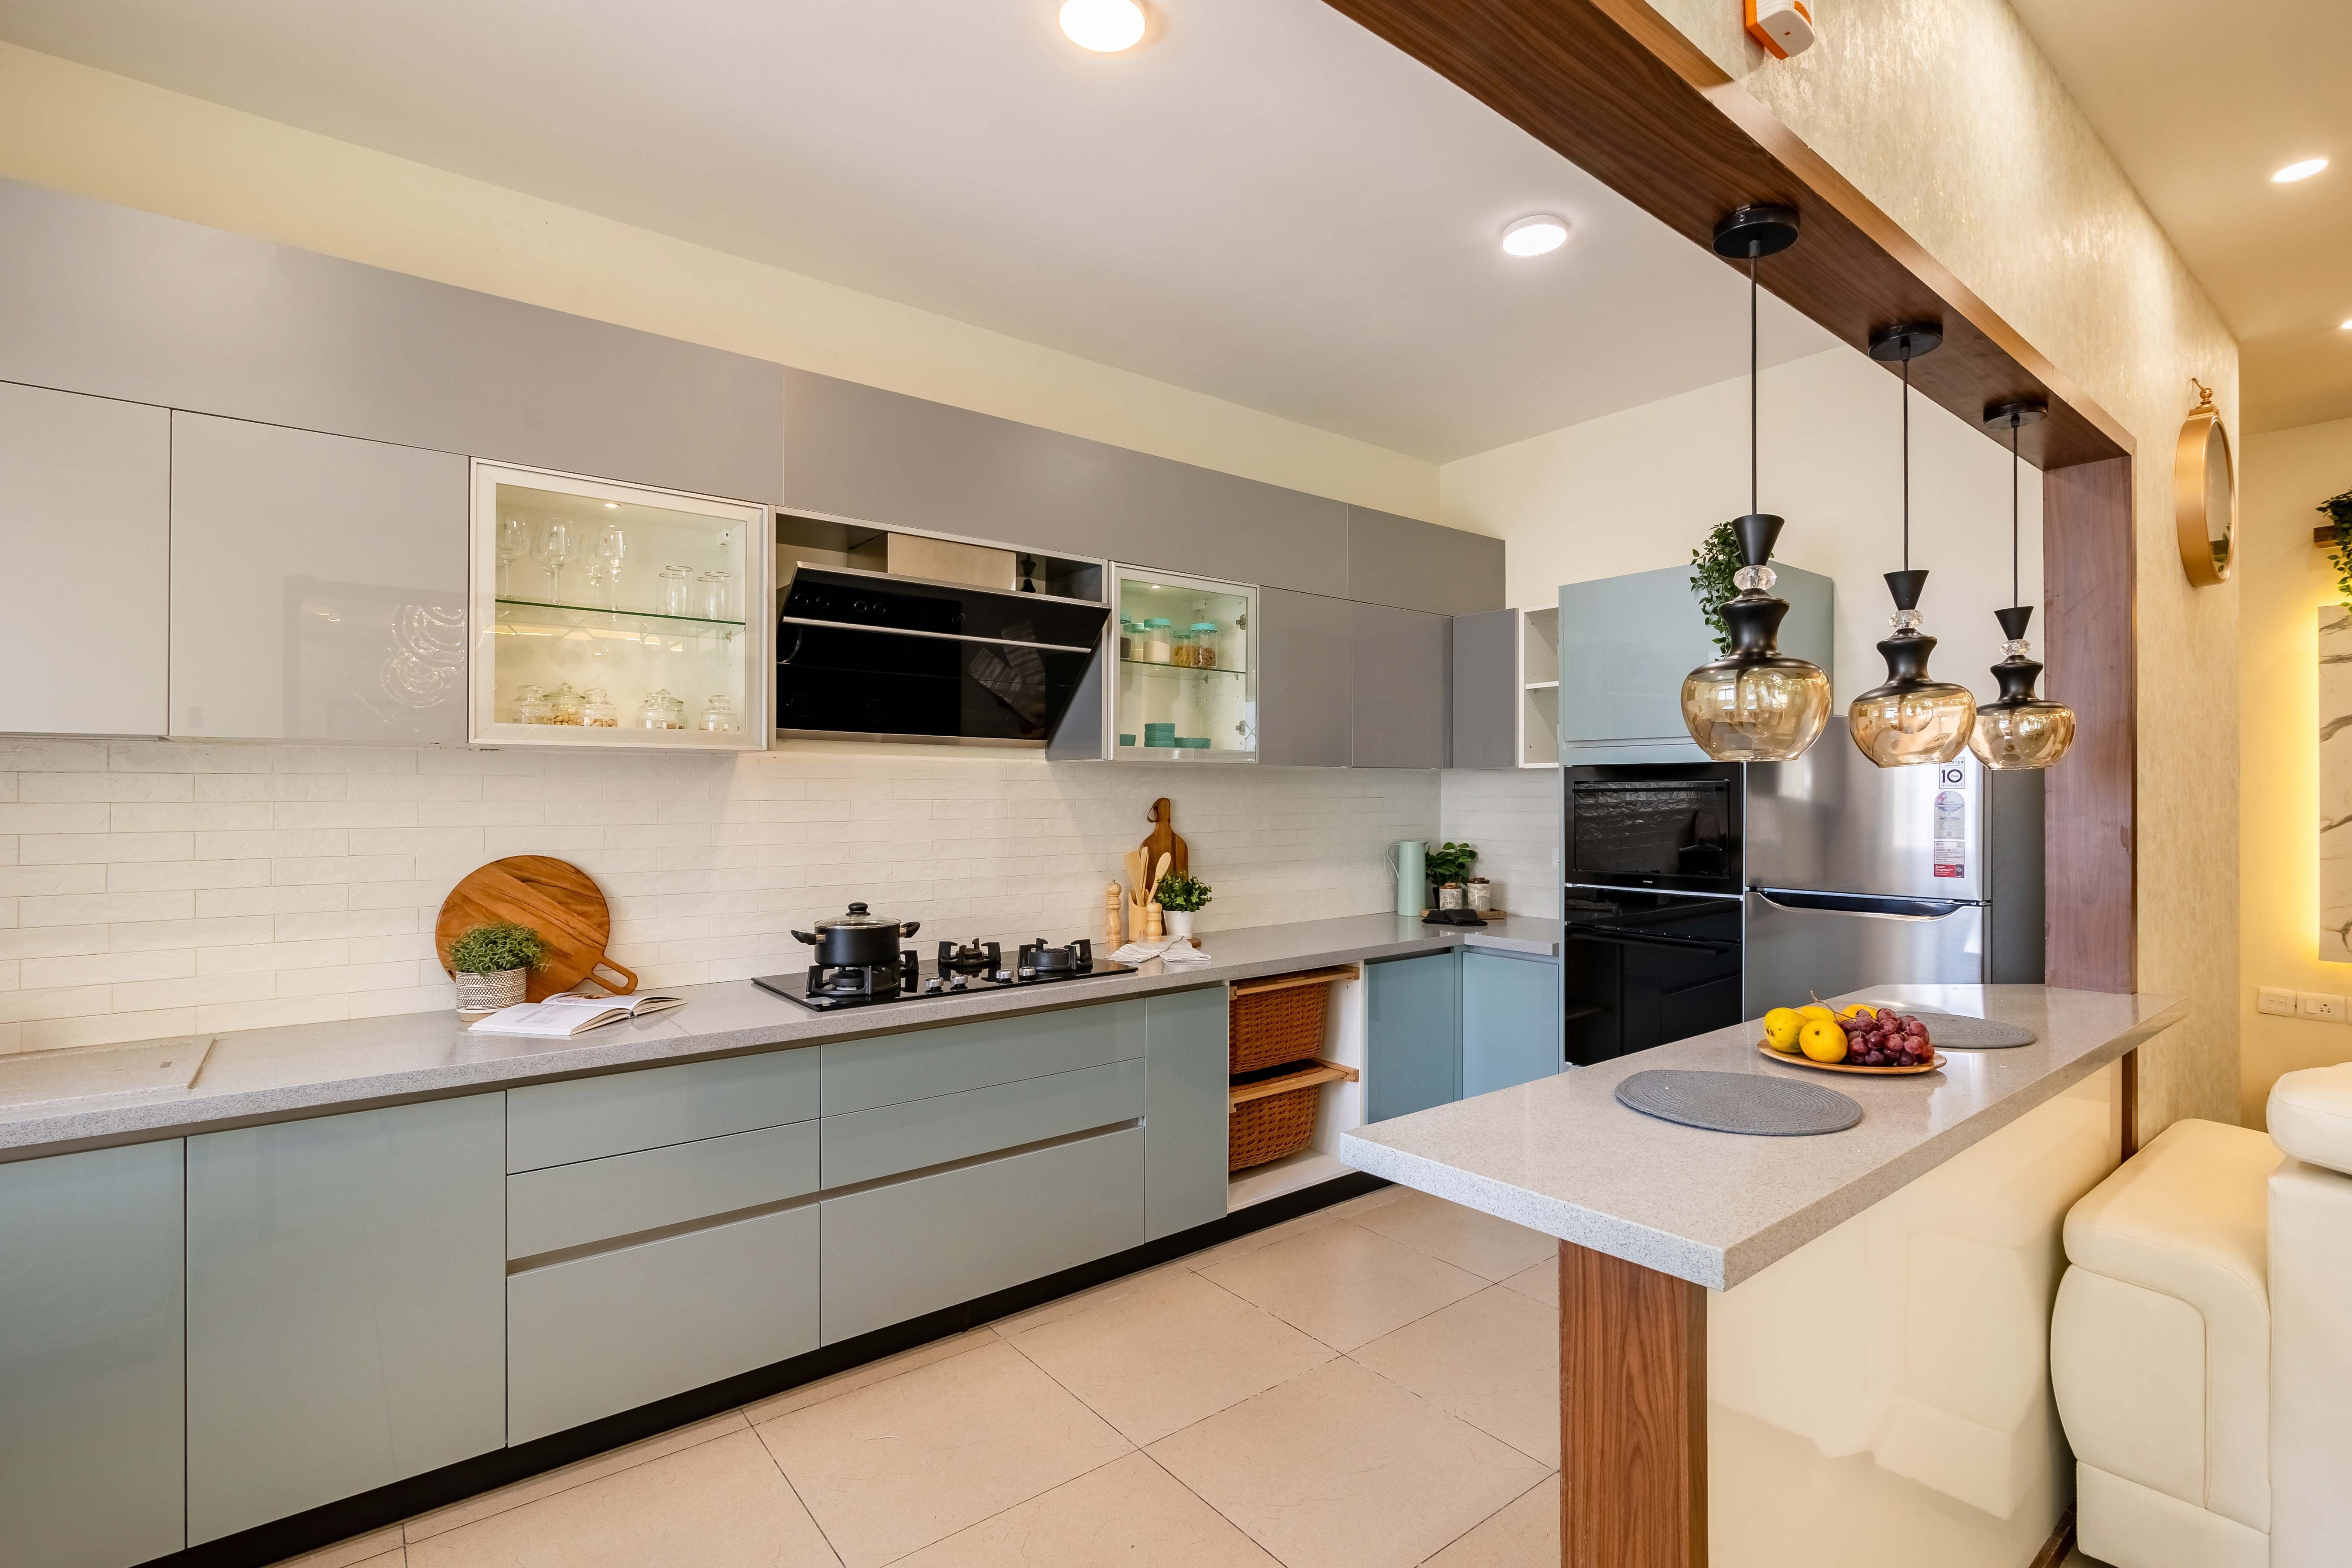
How do I start a kitchen cabinet declutter?
Group your items by how often you use them. Put things you use every day in one pile and things you use once a year in another. Be honest about the gadgets you bought but never actually used. If you have three spatulas but only use one, you do not need the others.
Create four specific piles for your items to make the sorting fast:
- Keep: Items used daily or weekly like coffee mugs and dinner plates.
- Store: Items used for holidays or special events like large turkey platters.
- Donate: Duplicate tools or items in good shape that you no longer want.
- Trash: Broken plastic, chipped mugs, or old sponges.
Step 3: Clean the Shelves
Wipe down the interior of the cabinets with a damp cloth and mild soap. Use a vacuum attachment to get crumbs and dust out of the corners. This is a key part of basic cleaning for any home to keep pests away.
Spend 10 minutes per cabinet to ensure no sticky residue remains on the shelves. Let the shelves dry completely for 15 minutes before putting anything back. This prevents moisture from trapping against your dishes or causing odors in the wood.
Step 4: Place Items Back Strategically
Place your most used items at eye level and in the front of the shelf. Put heavy pots and pans on the lowest shelves for safety. Put rarely used platters or seasonal baking tins on the highest shelves where they do not get in the way.
Use these simple rules for placing your items back into the cabinets:
- Stack plates by size with the largest ones on the bottom for stability.
- Store bowls in a nested fashion to save vertical space.
- Place drinking glasses together in a neat row for easy grabbing.
- Keep baking sheets upright using a divider or a tension rod.
- Put spices in a designated area near the stove for quick access.
- Store plastic lids in a small bin so they do not slide around.
Step 5: Maintain Your New System
Set a timer for five minutes every Sunday evening. Quickly straighten the stacks of plates and move any misplaced items back to their home. This prevents the clutter from returning and keeps the kitchen feeling fresh for the new week.
When you buy a new kitchen tool, find one old tool to donate. This one-in-one-out rule keeps your cabinets from becoming overfilled again. Your kitchen will stay reset and ready for use without needing a major overhaul every few months.


Comments
Post a Comment